Oyakodon Recipe That’ll Ruin All Other Rice Bowls For You (In the Best Way)
Let’s get one thing straight—Oyakodon is not just a bowl of rice with chicken and eggs tossed on top. Nope. It’s comfort food royalty in Japan. And if you’ve never had it, you’re seriously missing out. Like, where have you been?!
This dish is warm, cozy, savory, slightly sweet, and comes together faster than you can rewatch your favorite anime intro for the fifth time.
And the best part? You can whip it up in under 30 minutes. Yes, seriously. No weird ingredients, no drama—just simple, honest, soul-hugging Japanese food.
Ready to level up your rice bowl game? Let’s make some damn good Oyakodon.
What the Heck Is Oyakodon?
Okay, quick vocab lesson for the curious foodies.
Oyakodon (親子丼) literally means “parent and child bowl.” Yeah, it sounds a little dramatic, but it makes sense—chicken (parent) + egg (child) simmered together in a flavorful broth, served over hot rice. I mean… poetic and delicious? Japan just gets it.
This dish is super popular in Japanese homes and restaurants, especially when you want something warm and satisfying without spending an hour in the kitchen.
Why You’ll Love Making Oyakodon at Home
Let me guess—you’ve seen it in anime, heard about it from a foodie friend, or maybe you stumbled across it on a Japanese menu and thought, “That sounds… interesting.”
Well, let me tell you why you should definitely give this recipe a go:
- Quick AF – It takes 20–25 minutes from start to finish. No slow-cooking, no complicated prep.
- Budget-Friendly – Chicken thighs, eggs, rice, and a few pantry staples. That’s it.
- One-Pan Wonder – Fewer dishes = less cleanup = happier you.
- Versatile – You can tweak it to fit your taste. Add mushrooms, onions, or even swap the protein (but then, it’s not Oyakodon… just sayin’ ).
Ingredients: The Oyakodon Essentials
Here’s what you’ll need to create this Japanese comfort bowl. FYI, you can find most of these at a regular grocery store or Asian market.
🥢 Main Ingredients:
- 2 boneless chicken thighs, skin-on or off (IMO, skin-on tastes better)
- 2 large eggs
- 1/2 onion, thinly sliced
- 2 bowls of cooked Japanese rice (short-grain is ideal)
🧂 Sauce (this is where the flavor magic happens):
- 3 tbsp dashi stock (you can use instant dashi granules)
- 2 tbsp soy sauce
- 1 tbsp mirin (sweet rice wine)
- 1 tbsp sake (optional but awesome)
- 1 tsp sugar
Pro Tip: If you’re skipping sake, just add a little extra mirin and a splash of water.
Let’s Cook This Thing – Step-by-Step Guide

So now that you’ve gathered your ingredients, here comes the fun part—actually making it. Don’t worry, this is super chill.
Step 1: Prep the Chicken
Cut your chicken into bite-sized chunks. Not too big—you want them to cook quickly and evenly. Also, smaller pieces = easier to eat with chopsticks. (Unless you’re using a spoon. No judgment.)
Step 2: Make the Sauce
In a small bowl, mix your dashi, soy sauce, mirin, sake, and sugar. This blend is what gives the dish its signature sweet-savory kick.
Step 3: Cook the Onions and Chicken
Grab a small pan (a personal frying pan or donburi pan if you’re fancy). Add the sauce and bring it to a simmer. Toss in the sliced onions and let them cook for 2–3 minutes until they’re soft and slightly translucent.
Now, add the chicken pieces and simmer for about 5–6 minutes until they’re fully cooked. Don’t rush this—raw chicken is not the vibe, trust me.
Step 4: Add the Eggs
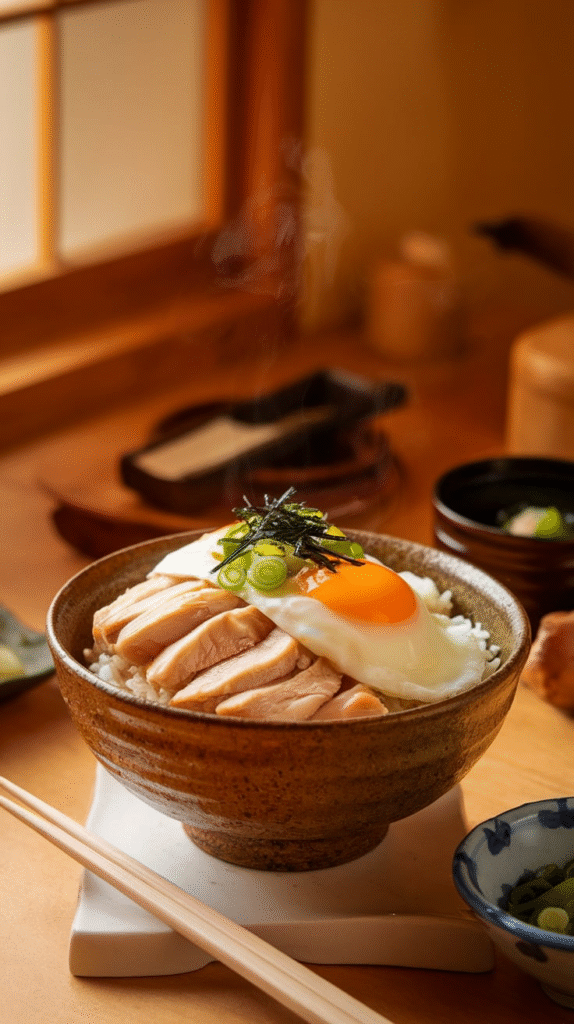
Lightly beat your eggs. Don’t overmix—you want that marbled texture. Pour the eggs over the simmering chicken and onion mixture. Cover the pan and let it cook for 1–2 minutes if you like your eggs soft and runny, or longer if you prefer them fully set.
Ever wondered why Japanese eggs look so perfectly half-cooked? It’s intentional. That silky, slightly runny texture = life-changing.
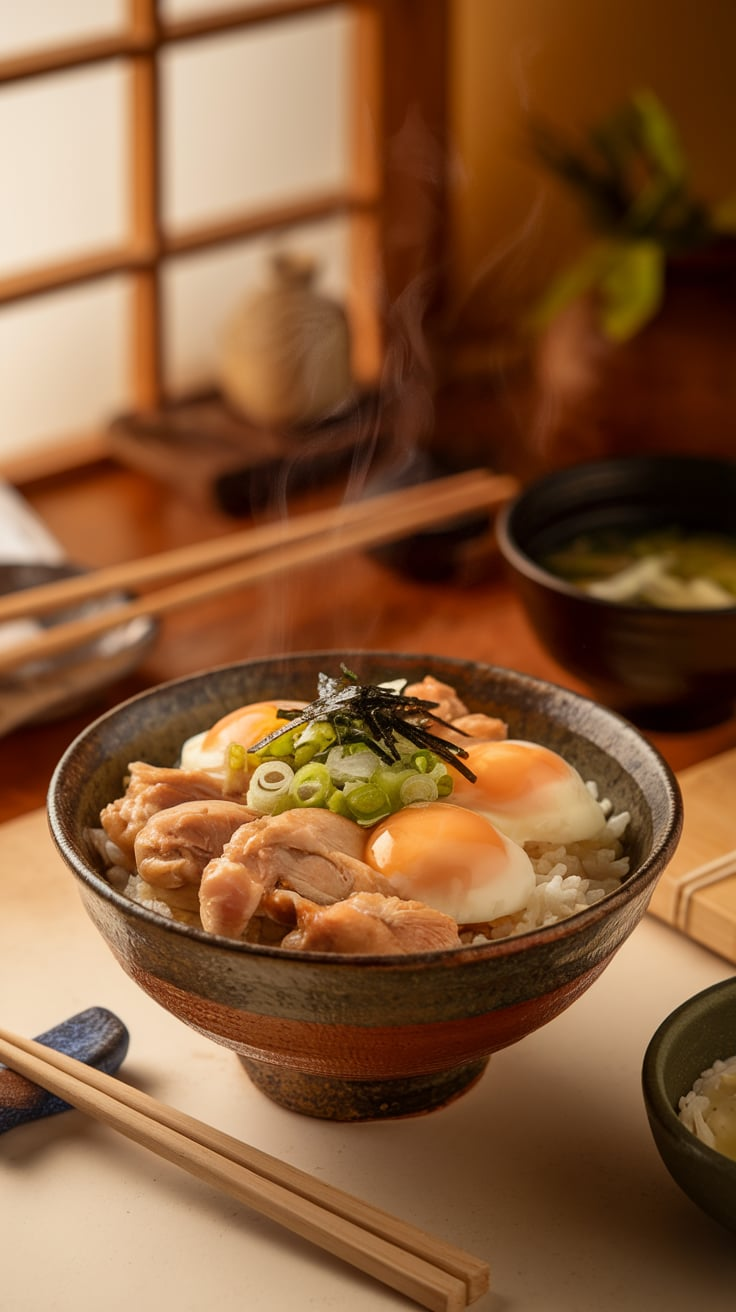
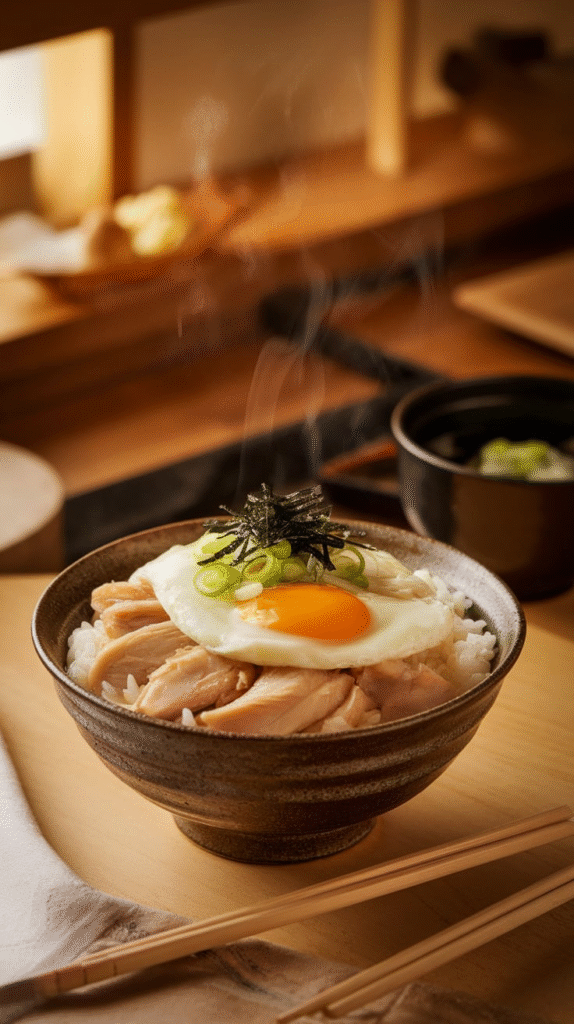
Step 5: Assemble the Bowl
Scoop some hot rice into a bowl. Slide your chicken-egg mixture over the top, making sure to get some of that glorious sauce in there too.
Garnish with a sprinkle of green onions, shredded nori, or shichimi togarashi (Japanese 7-spice) if you’re feelin’ fancy.
Then take a deep breath… and dig in.
Oyakodon Tips & Tricks (Because We’ve All Screwed It Up Once)
Let’s keep it real—your first attempt might not look like it came straight out of a Tokyo diner, and that’s okay. Here are a few tips I wish I knew earlier:
✅ Use Thighs, Not Breasts
Chicken thighs stay juicier and have way more flavor. Unless you love dry chicken, stick with thighs.
✅ Don’t Overcook the Eggs
Seriously. Please don’t kill the eggs. The soft, custardy texture is what makes Oyakodon so special. If you hate runny eggs, cook a little longer—but not scrambled.
✅ Short-Grain Rice = Bestie
Japanese rice is slightly sticky and perfect for soaking up the sauce. Long-grain rice? Meh. It’ll do in a pinch, but it’s not the same vibe.
✅ Keep It Personal
Like it spicier? Add chili oil. Prefer mushrooms? Toss ’em in. This dish is yours, so don’t be afraid to play around.
Can You Meal Prep Oyakodon?
Short answer: kinda.
Oyakodon is best fresh, but if you really want to prep ahead:
- Cook the chicken and onion mixture in advance and store it in an airtight container.
- Reheat gently and add fresh beaten egg when ready to serve. That way, you keep the egg texture just right.
But honestly? Just make it fresh. It takes less time than deciding what to watch on Netflix. 😬
Let’s Talk Substitutions (Because Sometimes You’re Out of Sake at Midnight)
Can’t find some ingredients? No problem. I gotchu.
- Dashi substitute: Chicken broth + a dash of soy + pinch of MSG (yeah, I said it 😅)
- Mirin substitute: 1 tbsp white sugar + 1 tbsp water + 1 tbsp rice vinegar
- Sake substitute: Skip or replace with a touch more mirin + water
And no, you don’t need to order rare ingredients online just to make this dish once. Though fair warning—you’ll probably want to make it again… and again… and again.
Oyakodon vs. Other Donburi Dishes
Okay, real quick—what makes Oyakodon different from, say, Gyudon or Katsudon?
| Dish | Main Protein | Flavor Profile |
|---|---|---|
| Oyakodon | Chicken + Egg | Sweet-savory, light broth |
| Gyudon | Beef slices | Heavier, richer umami |
| Katsudon | Fried pork cutlet | Crunchy + savory-sweet |
IMO, Oyakodon is the comfort food MVP. Less oily than Katsudon, lighter than Gyudon, but still totally satisfying.
Final Thoughts – So, Is Oyakodon Worth Making?
Let me put it this way—if you like flavorful, fast, satisfying food, you need Oyakodon in your life. It’s got everything: juicy chicken, fluffy eggs, sweet-savory sauce, and warm rice all hugging in one bowl. What’s not to love?
Plus, it’s cheaper than ordering takeout and honestly more rewarding. There’s just something about cooking a traditional dish from halfway around the world and nailing it in your own kitchen. Feels kinda badass, doesn’t it?
So the next time you’re hangry and your fridge only has eggs, onions, and some questionable leftover rice… now you know what to do.
Make yourself a big ol’ bowl of Oyakodon, turn on some lo-fi beats, and thank yourself later.
FAQs About Oyakodon
What does Oyakodon mean in Japanese?
Great question! Oyakodon (親子丼) literally means “parent and child bowl.” It’s kind of poetic (and darkly funny, tbh)—the chicken is the parent, and the egg is the child. Together, they make one heck of a flavorful duo over a bowl of rice.
Can I use chicken breast instead of thighs?
Technically yes, but do I recommend it? Ehh… not really.
Chicken thighs stay juicier and pack way more flavor, especially when simmered in that sweet-savory broth. Breasts can dry out faster, but if you’re team lean protein, go for it—just don’t overcook them.
Do I have to use dashi?
Dashi gives Oyakodon that signature umami punch, but if you can’t find it, you can fake it till you make it:
- Mix chicken broth with a splash of soy sauce and a pinch of MSG (don’t @ me—it works).
- Or use instant dashi granules—easy, effective, and no fish flakes required.
Can I meal prep Oyakodon?
Sort of, but it’s definitely best fresh.
If you must meal prep:
- Make the chicken and onion mixture in advance.
- Store it in the fridge, and when you’re ready to eat, reheat it and add freshly beaten eggs right before serving.
FYI: Reheating cooked eggs = rubbery mess. Not the vibe.
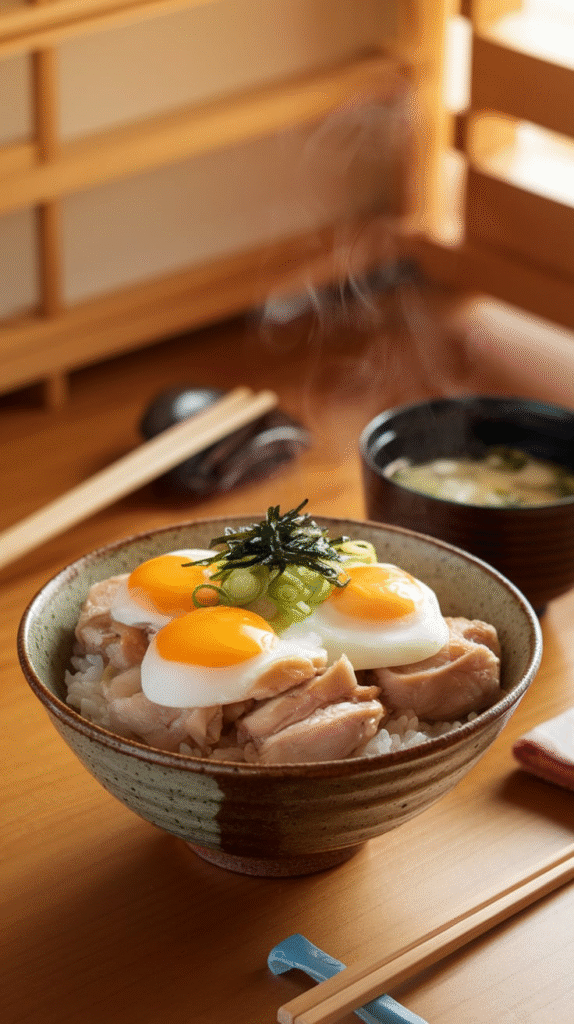
Is Oyakodon supposed to have runny eggs?
Yes! That’s part of its magic.
Slightly runny, silky eggs make the dish rich and comforting. If that’s not your thing, you can cook the eggs a bit longer. But don’t stir them into scrambled-egg territory—you’ll lose that soft, delicate texture that makes Oyakodon special.
Can I make Oyakodon vegetarian?
Sure! Try this:
- Swap the chicken for shiitake mushrooms, tofu, or soy curls.
- Use vegetarian dashi made from kombu (kelp) and shiitake.
Same cozy vibes, minus the chicken and egg drama.
What kind of rice should I use?
Stick with short-grain Japanese rice—it’s slightly sticky and perfect for absorbing the sauce. Long-grain rice like basmati or jasmine? Meh. It works in a pinch, but it won’t feel quite the same.
Is this dish kid-friendly?
Absolutely! The flavors are mild, sweet, and savory—no spicy surprises here. It’s a total family favorite. Just maybe skip the green onions and spices if your kiddo is picky.
Can I freeze Oyakodon?
Not really. The egg texture turns weird after freezing, and the rice becomes a bit sad and dry.
Your best bet? Make it fresh or prep the chicken/onion mixture ahead and cook the eggs fresh when you’re ready.
How do I level it up?
Feeling extra? Try these:
- Add mushrooms (shiitake or enoki are 💯)
- Sprinkle with shichimi togarashi (Japanese 7-spice)
- Top with fresh scallions, nori strips, or even a soft-boiled egg (eggceptional, I know)
Oyakodon Recipe That’ll Ruin All Other Rice Bowls For You (In the Best Way)
Ingredients
2 large eggs
1/2 onion, thinly sliced
2 bowls of cooked Japanese rice (short-grain is ideal)
3 tbsp dashi stock (you can use instant dashi granules)
2 tbsp soy sauce
1 tbsp mirin (sweet rice wine)
1 tbsp sake (optional but awesome)
1 tsp sugar
Instructions
Step 2: Make the Sauce
Step 3: Cook the Onions and Chicken
Step 4: Add the Eggs
Step 5: Assemble the Bowl