The Best Okonomiyaki Recipe You’ll Ever Try (Japanese Savory Pancake Magic)
If you’ve never tried okonomiyaki, you’re in for a real treat. The first time I made this dish at home, I honestly didn’t know what to expect.
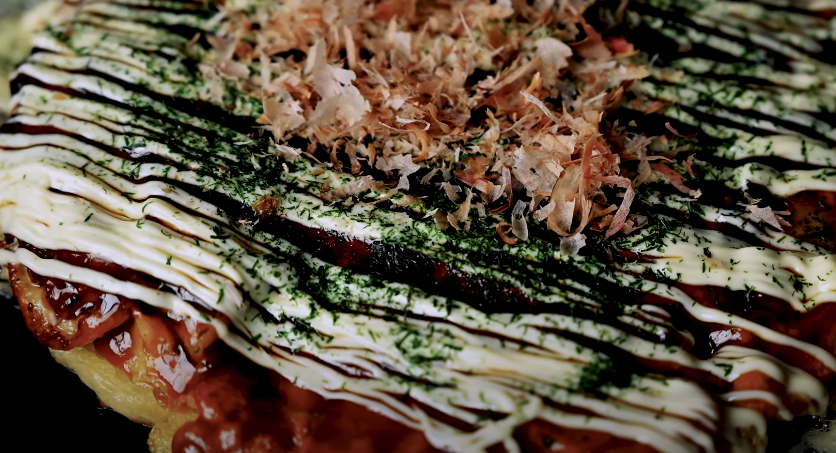
I’d seen videos of it being made in Japan, with chefs flipping these giant savory pancakes on hot griddles, drizzling sauces in zigzags, and topping them with dancing bonito flakes.
When I finally cooked it myself, I was hooked. And I’m pretty sure once you try it, you’ll feel the same way.
Okonomiyaki is simple, comforting, and full of flavor. Think of it like Japan’s version of a loaded pancake – crispy on the outside, soft inside, and topped with savory sauces.
In this article, I’ll walk you through everything you need to know so you can make it perfectly at home.
What is Okonomiyaki?
Okonomiyaki is a Japanese savory pancake. The word comes from “okonomi” meaning what you like and “yaki” meaning grilled or cooked. So basically, it’s a pancake you can make with whatever you like!
Traditionally, it’s made with a batter of flour, grated yam or potato, eggs, cabbage, and sometimes pork belly or seafood. After cooking, it’s topped with special sauces like okonomiyaki sauce, mayonnaise, seaweed flakes, and bonito flakes.
It’s a street food classic in Japan but also a comfort food you can easily make at home.
Ingredients You’ll Need
Here’s what you need for the base recipe. Don’t worry – if you can’t find some Japanese ingredients, I’ll share simple swaps too.
- 1 cup all-purpose flour
- 2/3 cup water or dashi stock (dashi gives more flavor, but water works fine)
- 2 eggs
- 2 cups finely chopped cabbage
- 2 green onions, chopped
- 4-5 thin slices of pork belly or bacon
- Cooking oil for frying
Toppings (the fun part!)
- Okonomiyaki sauce (or use BBQ sauce if you can’t find it)
- Japanese mayo (Kewpie is best, but regular mayo works too)
- Bonito flakes (optional, but they make it authentic)
- Aonori (seaweed flakes) – optional but tasty
How to Make Okonomiyaki (Step by Step)
I’ll keep it simple so you can follow along easily.
1. Make the Batter
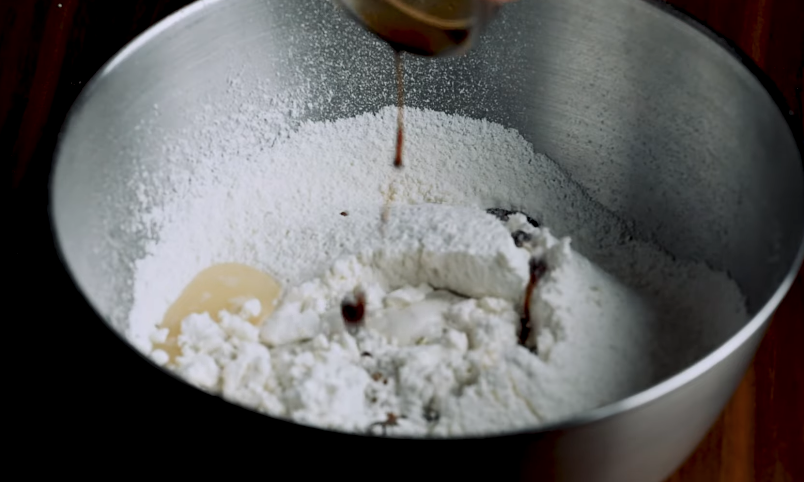
In a bowl, whisk together the flour, water or dashi, and eggs. Mix until smooth.
2. Add the Veggies
Stir in the chopped cabbage and green onions. The batter should be thick, almost like coleslaw coated in pancake batter.
3. Heat the Pan
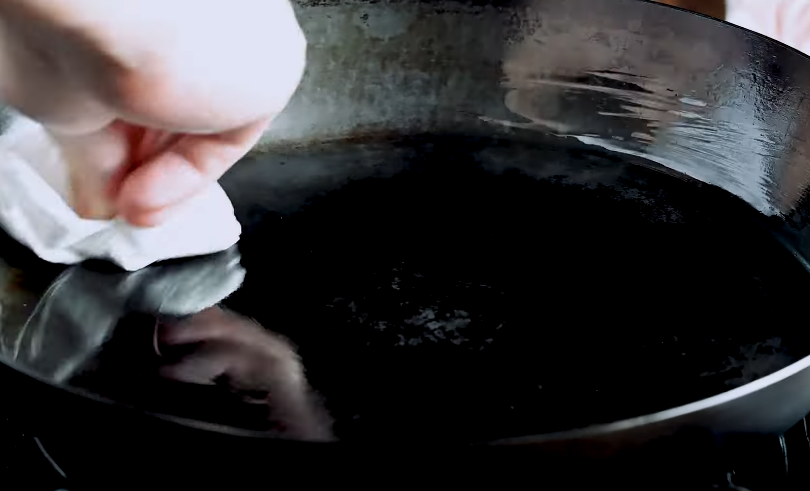
Add oil to a frying pan or skillet and heat it over medium.
4. Shape the Pancake
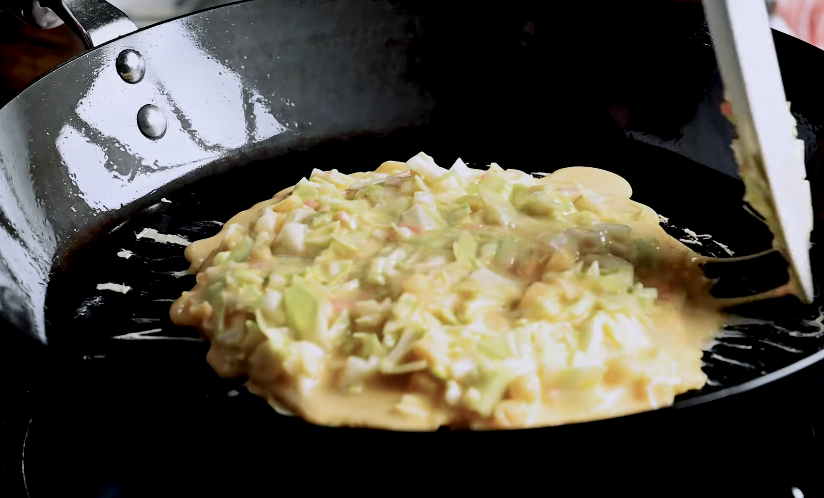
Pour the batter into the pan, shaping it into a round pancake about 1 inch thick. Place pork belly or bacon slices on top.
5. Cook Until Golden
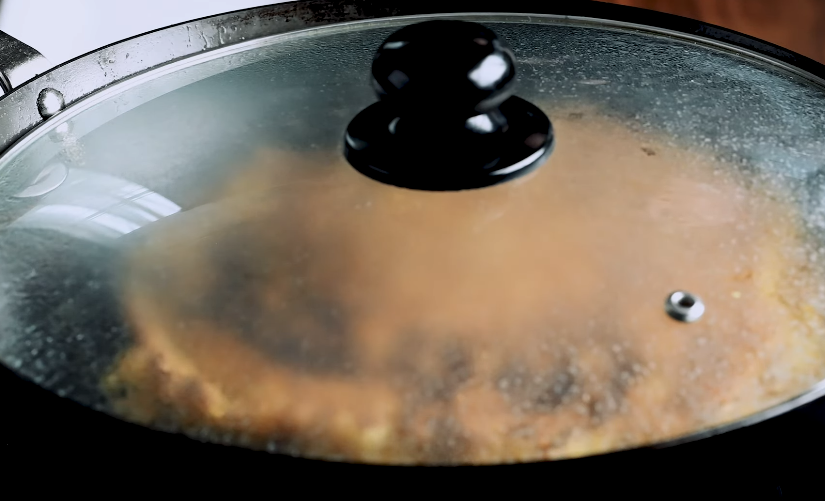
Cook for about 4-5 minutes on one side, then carefully flip and cook the other side for another 4-5 minutes. The outside should be golden and crispy.
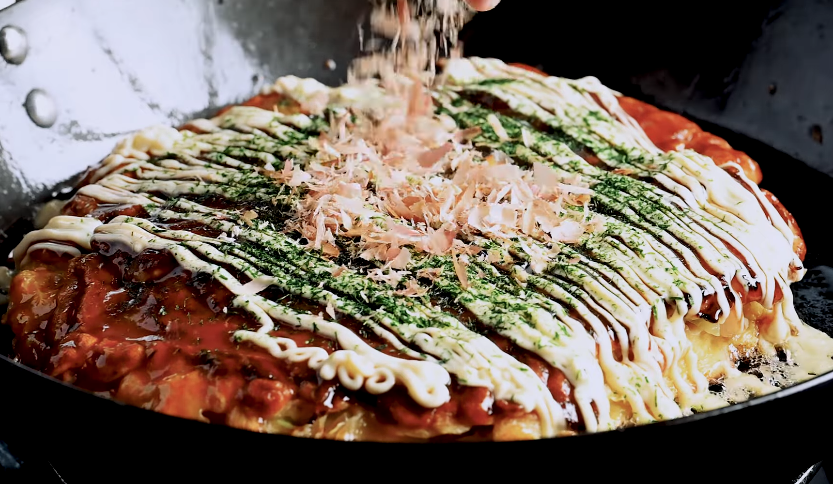
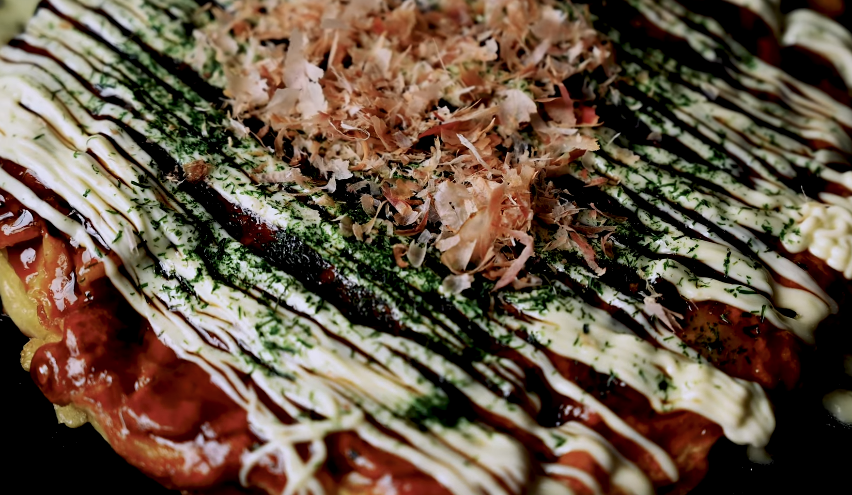
6. Add Toppings
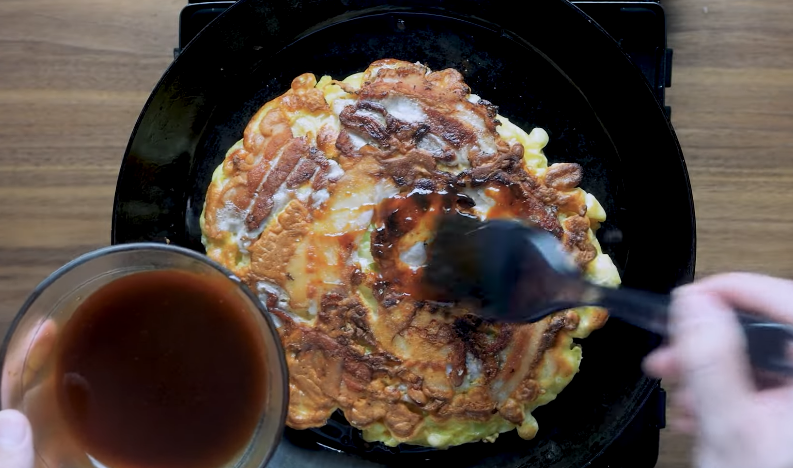
Slide your pancake onto a plate and drizzle with okonomiyaki sauce and mayonnaise. Sprinkle bonito flakes and seaweed flakes on top.
That’s it – you’ve made your own Japanese street food at home!
Why You’ll Love This Recipe
- Crispy and soft: The outside gets golden and crunchy, while the inside stays soft and packed with flavor.
- Customizable: You can add shrimp, squid, cheese, or even noodles if you want.
- Easy and fun: It’s simple enough for a weekday dinner but special enough to impress guests.
- Comfort food vibes: It feels indulgent, but it’s basically cabbage, so you don’t feel too guilty eating it.
Variations You Should Try
One of the best things about okonomiyaki is that you can make it your own. Here are some twists you can try:
- Seafood Okonomiyaki: Add shrimp, squid, or octopus.
- Cheese Okonomiyaki: Mix shredded cheese into the batter or melt it on top.
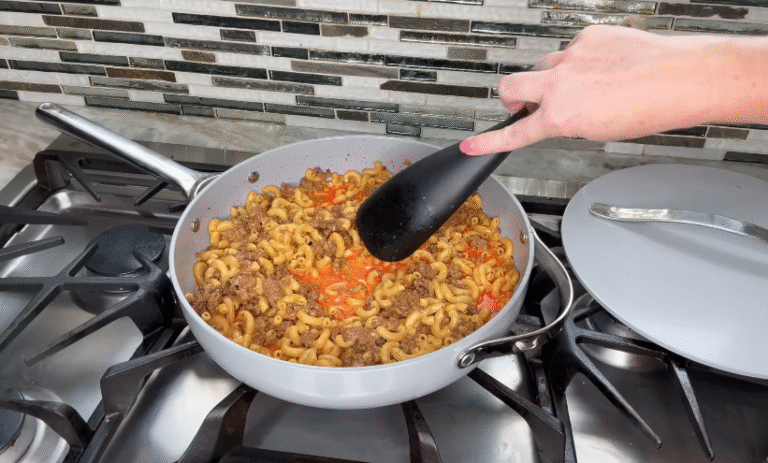
- Noodle Okonomiyaki (Hiroshima-style): Layer yakisoba noodles inside the pancake.
- Vegetarian Okonomiyaki: Skip the meat and load it up with mushrooms, carrots, or zucchini.
Tips for Perfect Okonomiyaki
- Don’t overmix the batter. Just combine until it comes together.
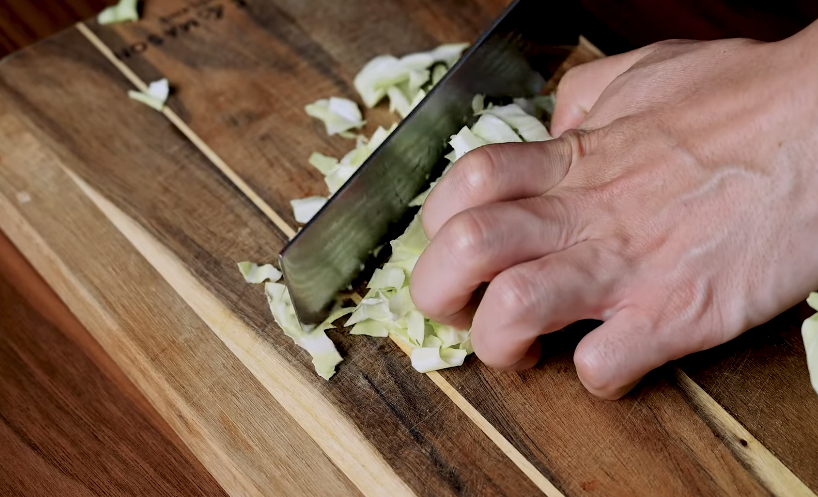
- Chop the cabbage finely. This makes the pancake hold together better.
- Cook on medium heat. Too high, and it’ll burn outside while staying raw inside.
- Use two spatulas to flip. It makes flipping much easier.
Serving Ideas
Okonomiyaki is a meal on its own, but you can serve it with:
- Miso soup
- Pickled ginger
- Steamed rice
- A side salad
FAQs About Okonomiyaki
Q: Can I make okonomiyaki without pork belly?
Yes! You can use bacon, chicken, shrimp, or just keep it vegetarian.
Q: What if I don’t have okonomiyaki sauce?
Use a mix of Worcestershire sauce and ketchup, or even BBQ sauce.
Q: Can I make the batter ahead of time?
Yes, you can prep the batter and veggies a few hours ahead, but cook it fresh for best texture.
Q: Is okonomiyaki healthy?
It’s fairly balanced since it’s mostly cabbage and eggs. The toppings add richness, so you can adjust to your liking.
Q: Can I freeze leftover okonomiyaki?
Yes! Cooked okonomiyaki can be frozen. Just reheat in a pan or oven for best results.

The Best Okonomiyaki Recipe You’ll Ever Try (Japanese Savory Pancake Magic)
Course: Recipes2
servings10
minutes15
minutes420
kcalIngredients
1 cup all-purpose flour
2/3 cup water or dashi stock
2 large eggs
2 cups finely chopped cabbage
2 green onions, chopped
4–5 thin slices pork belly or bacon
1 tbsp oil (for frying)
Toppings (optional but recommended):
Okonomiyaki sauce (or BBQ sauce)
Japanese mayonnaise
Bonito flakes
Aonori (seaweed flakes)
Directions
- Make the batter – In a bowl, whisk together flour, water/dashi, and eggs until smooth.
- Add veggies – Stir in chopped cabbage and green onions.
- Heat pan – Add oil to a skillet and heat over medium.
- Shape pancake – Pour batter into the pan, shaping into a 1-inch thick pancake. Place pork belly slices on top.
- Cook – Fry 4–5 minutes on one side, then flip and cook another 4–5 minutes until golden and cooked through.
- Top and serve – Slide onto a plate, drizzle with okonomiyaki sauce and mayo, and sprinkle with bonito flakes and seaweed.