No Bake Easter Cheesecake Recipe That Will Steal the Show!
I have to admit something—I’m obsessed with cheesecakes. But when Easter comes around, I want something fun, colorful, and super easy to make.
That’s how I came up with this No Bake Easter Cheesecake recipe. It’s creamy, light, filled with Easter candy vibes, and the best part—it doesn’t even need an oven!
If you’re like me and love desserts that look fancy but don’t take hours in the kitchen, you’re going to love this. Let’s dive in together and I’ll show you step by step how to make this festive treat.
Why No Bake Easter Cheesecake?
Every Easter, we’re all busy with family dinners, egg hunts, and decorating. The last thing I want is to stress about baking a complicated dessert. That’s why this no bake cheesecake is perfect.
- No oven required – saves time and keeps things simple.
- Perfectly creamy – the filling sets beautifully in the fridge.
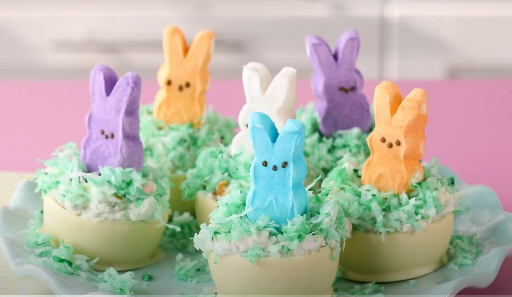
- Fun Easter twist – you can decorate it with mini eggs, pastel sprinkles, or even Peeps.
- Make-ahead dessert – prepare it the night before and let it chill.
Trust me, this cheesecake is a lifesaver when you want something beautiful, delicious, and easy.
Ingredients You’ll Need
Here’s everything you need for this recipe. Don’t worry—it’s all simple stuff you can find in any grocery store.
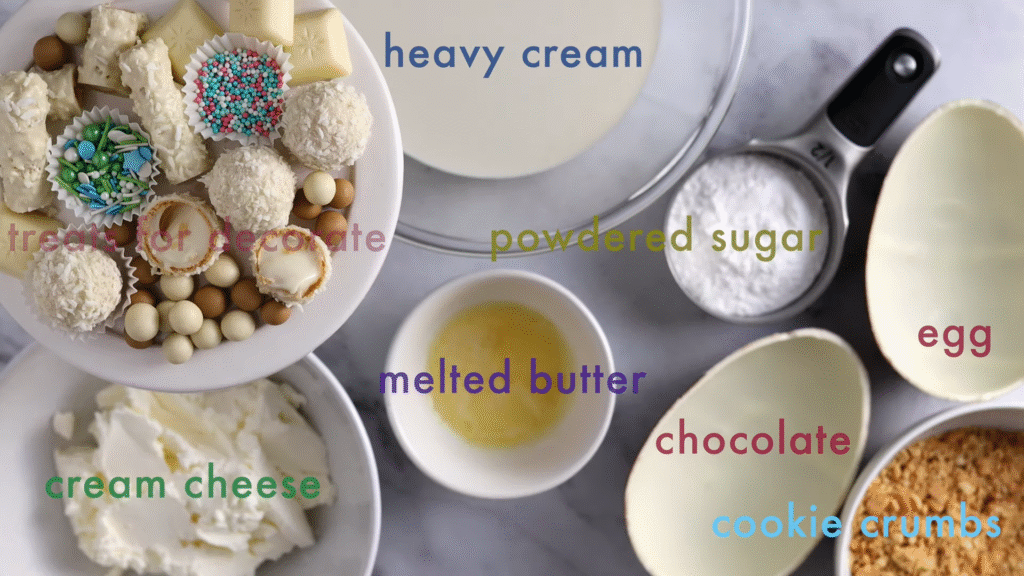
For the crust:
- 2 cups crushed graham crackers (or digestive biscuits)
- ½ cup melted butter
- 2 tablespoons sugar
For the filling:
- 16 oz cream cheese (softened)
- 1 cup powdered sugar
- 1 teaspoon vanilla extract
- 1 cup heavy whipping cream
- A handful of pastel-colored candies (mini eggs, M&Ms, or sprinkles)
For topping:
- Whipped cream
- More Easter candies (mini eggs, bunnies, sprinkles)
This recipe is very flexible—you can swap graham crackers for Oreos or use different candies. That’s the fun part!
Step 1: Making the Crust
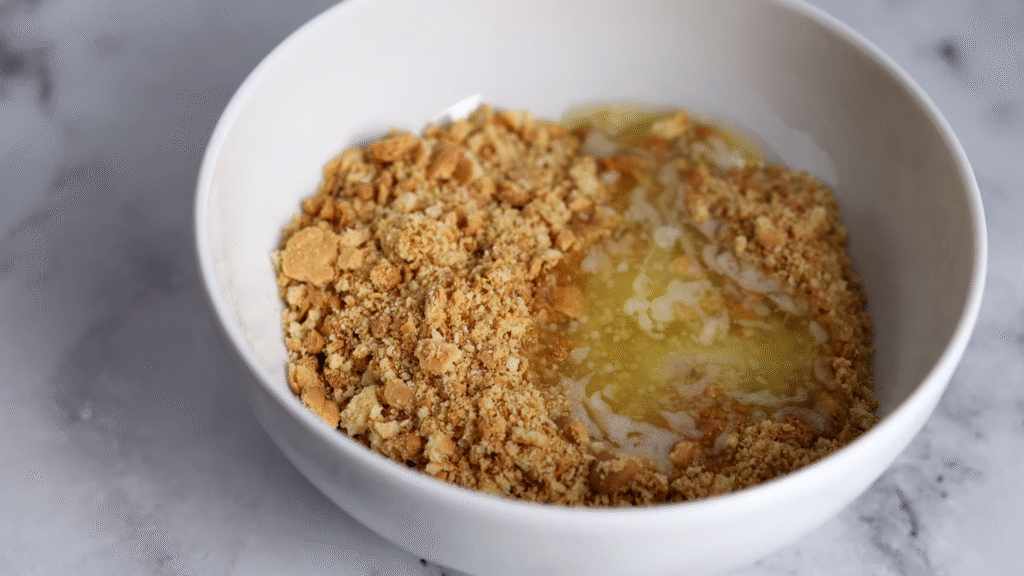
The crust is the base of the cheesecake. It needs to be buttery, crunchy, and just the right amount of sweet.
- Crush your graham crackers until they look like sand. You can do this in a food processor or just put them in a ziplock bag and smash with a rolling pin. (So satisfying!)
- Mix the crumbs with melted butter and sugar.
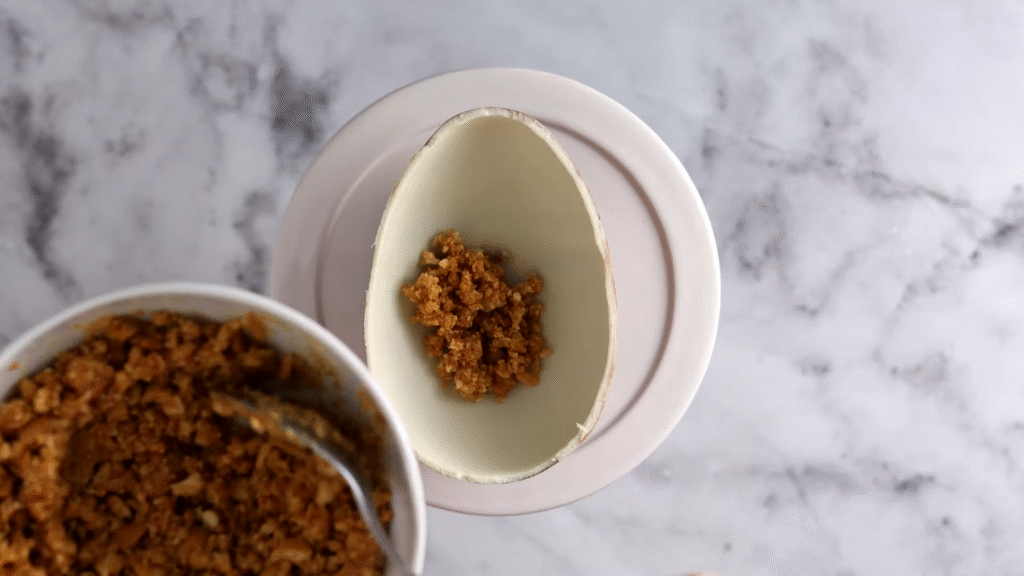
- Press the mixture firmly into the bottom of a springform pan. Make sure it’s even and compact.
- Place it in the fridge while we work on the filling.
That’s it—the crust is ready!
Step 2: Preparing the Cheesecake Filling
Here’s where the magic happens. The filling is creamy, smooth, and no baking required.
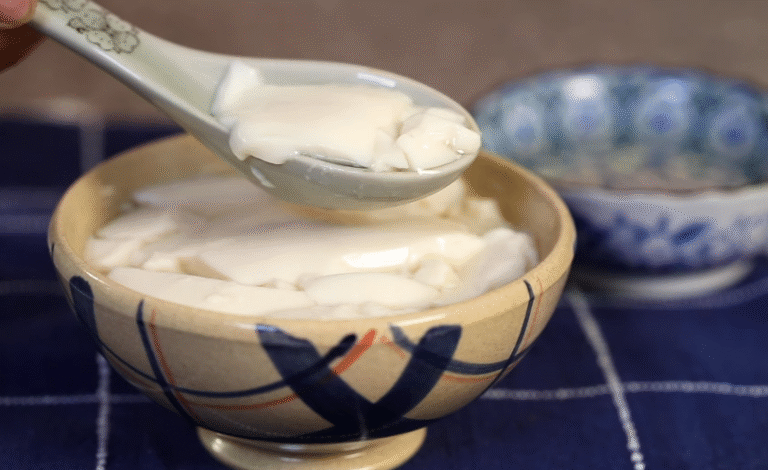
- Beat the cream cheese until smooth. You don’t want lumps here.
- Add powdered sugar and vanilla extract, mixing until combined.
- In a separate bowl, whip the heavy cream until stiff peaks form. This gives the cheesecake a light and airy texture.
- Gently fold the whipped cream into the cream cheese mixture. Be careful not to overmix—you want it fluffy.
- Stir in some Easter candies for a fun surprise inside.
Now you have the most delicious cheesecake filling ever!
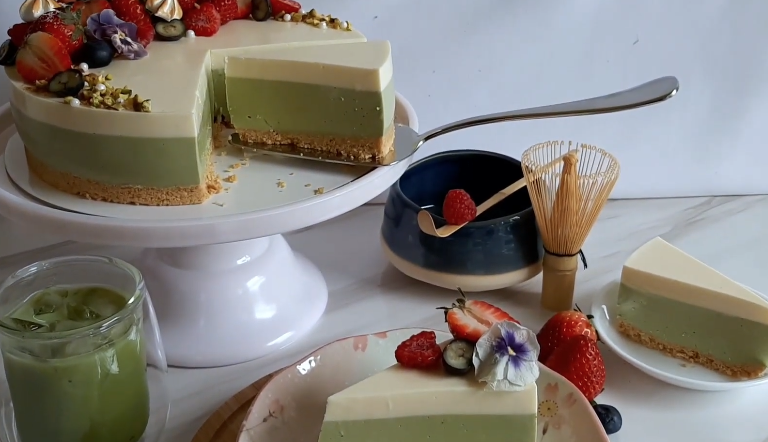
Step 3: Assembling the Cheesecake
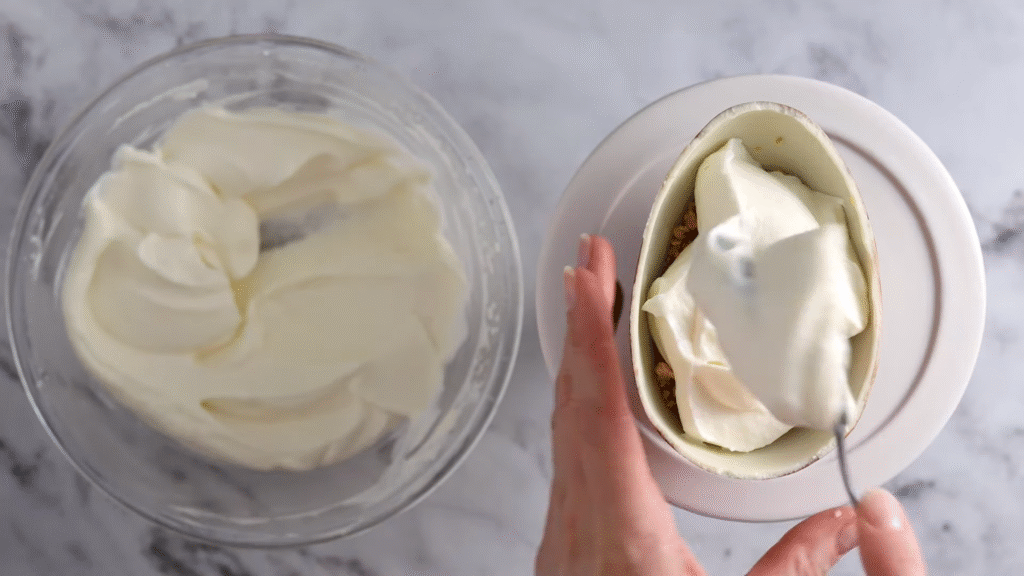
- Pour the filling over the prepared crust.
- Smooth out the top with a spatula.
- Cover with plastic wrap and let it chill in the fridge for at least 6 hours, or overnight if possible.
Patience is key here—the longer it chills, the firmer it sets.
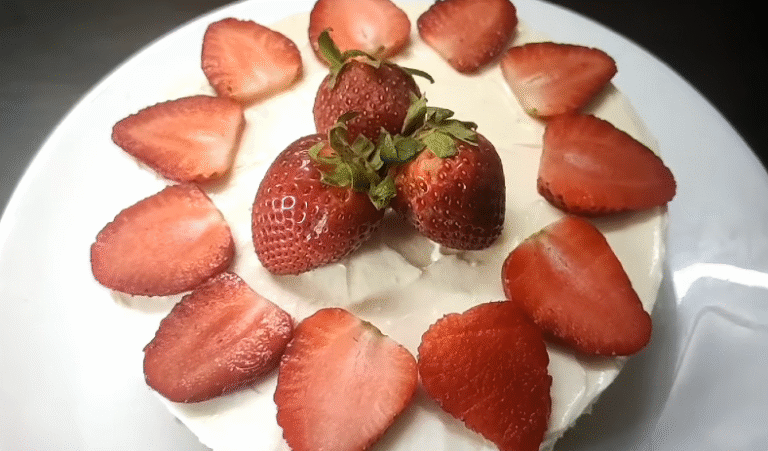
Step 4: Decorating for Easter
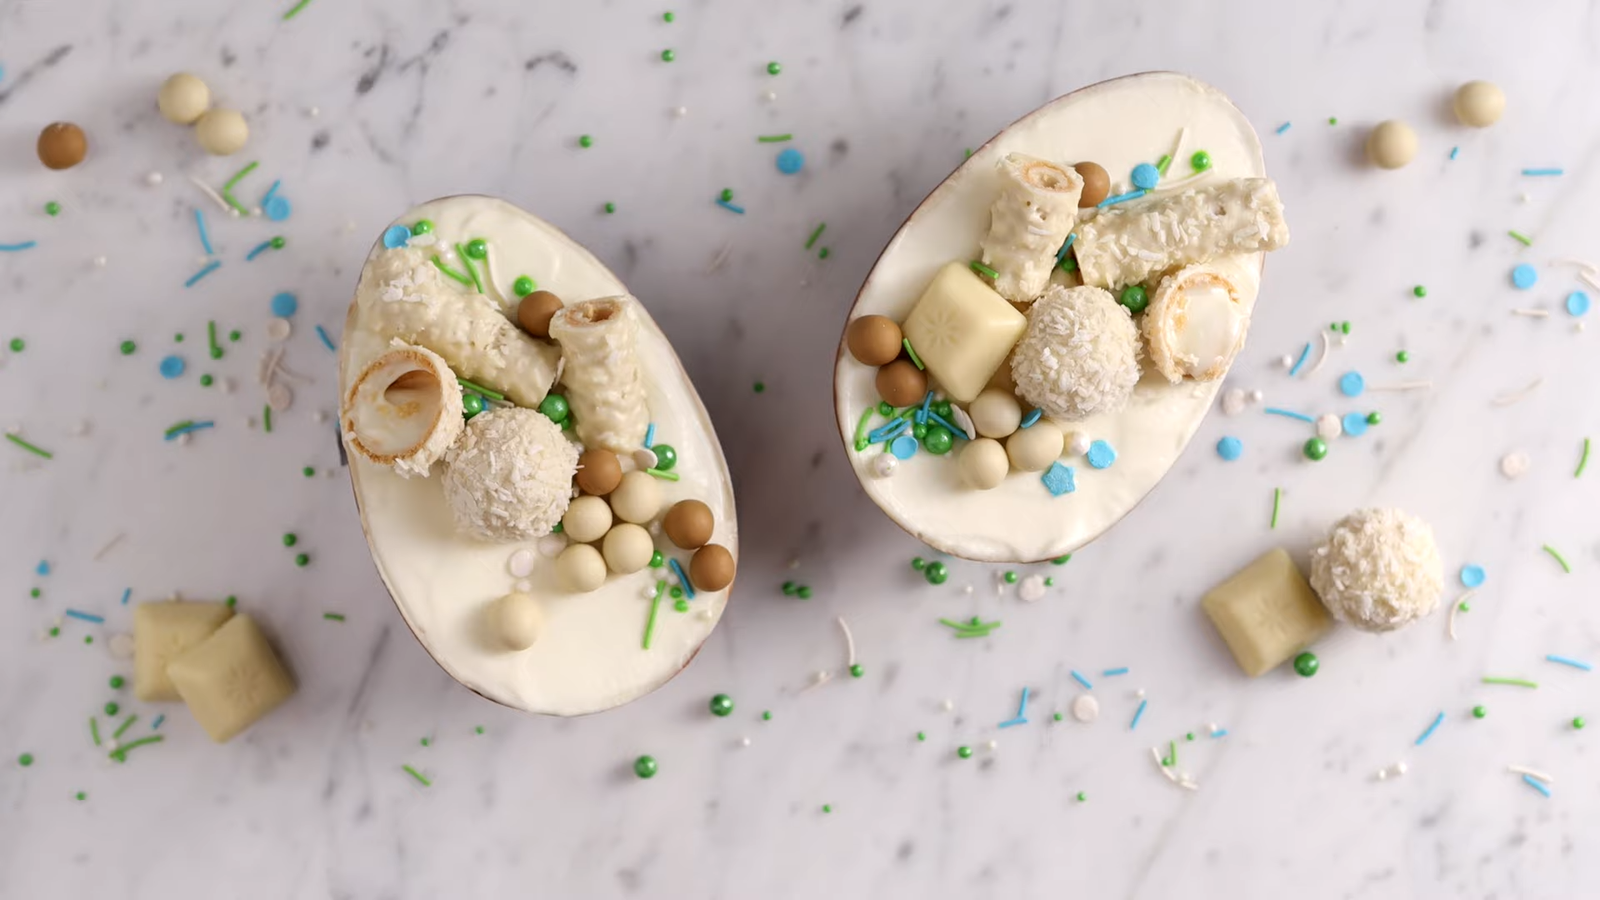
This is my favorite part—the decoration! Easter is all about colors and fun, so go crazy here.
- Top with whipped cream swirls.
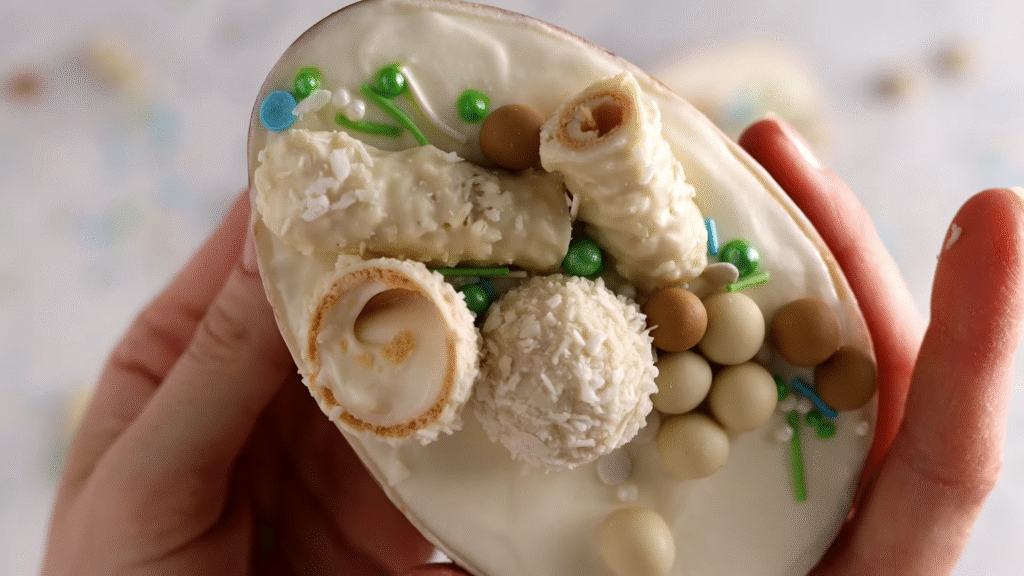
- Add mini chocolate eggs in the center.
- Sprinkle pastel sprinkles all around.
- Place Peeps marshmallows or little chocolate bunnies for a cute touch.
This step is where you can let your creativity shine. The cheesecake will look so festive, everyone will think you spent hours making it.
Why You’ll Love This Recipe
I’ve made this cheesecake a few times now, and every single time, it’s the first dessert to disappear. Here’s why:
- Kid-friendly – little ones love the candy surprise inside.
- Crowd-pleaser – adults love how creamy it is.
- Stress-free – you don’t need to be a pro baker.
- Make ahead – perfect for busy Easter prep.
This dessert will honestly make you look like a kitchen rockstar without the effort.
Tips for the Best No Bake Easter Cheesecake
Here are some tips I’ve learned along the way that make this cheesecake extra perfect:
- Use full-fat cream cheese – it makes the filling rich and creamy.
- Chill overnight – the longer, the better for a firm set.
- Don’t skip whipped cream – it gives the cheesecake its fluffy texture.
- Line your pan with parchment paper – helps when removing the cheesecake.
- Decorate before serving – keeps candies fresh and colorful.
These small details make a big difference.
Fun Variations You Can Try
Want to switch things up? Here are some creative twists:
- Chocolate crust – use Oreos instead of graham crackers.
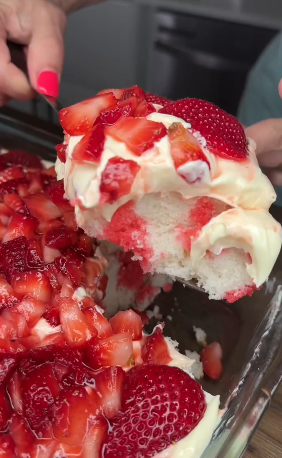
- Strawberry swirl – mix in some strawberry jam for fruity flavor.
- Carrot cake crust – press in crushed carrot cake cookies for an Easter vibe.
- Rainbow cheesecake – divide filling into bowls, color with food coloring, and layer for a fun look.
Each version adds a unique touch to your Easter table.
Serving Suggestions
When it’s time to serve, here’s how I like to do it:

- Slice with a hot knife (run under warm water first).
- Serve on colorful plates to match the Easter theme.
- Add extra candies or chocolate drizzle on each slice.
Trust me, your guests will be snapping pictures before they even take a bite.
Storing Your Cheesecake
This cheesecake keeps really well:
- In the fridge – store covered for up to 4 days.
- In the freezer – freeze without toppings for up to 1 month. Thaw overnight in the fridge before serving.
It’s a great make-ahead dessert for Easter or any spring gathering.
FAQs About No Bake Easter Cheesecake
1. Can I use store-bought crust?
Yes, absolutely! If you’re short on time, grab a premade graham cracker crust. It works perfectly.
2. How long does it take to set?
At least 6 hours, but I always recommend overnight for the best texture.
3. Can I use Cool Whip instead of whipping cream?
Yes! If you don’t want to whip cream, use Cool Whip. It saves time and still tastes amazing.
4. Can I make it ahead of time?
Yes, this cheesecake is perfect to make a day or two before Easter. Just decorate before serving.
5. What’s the best pan to use?
A springform pan works best because it’s easy to remove the cheesecake without breaking it.
6. Can I make it gluten-free?
Yes! Just use gluten-free graham crackers or cookies for the crust.
7. Can kids help with this recipe?
Of course! Kids can crush cookies, stir filling, and help decorate. It’s a fun family activity.
8. What toppings go well with it?
Whipped cream, sprinkles, Easter eggs, jelly beans, chocolate drizzle, or fresh fruit.
9. Can I add flavor extracts?
Yes! Try almond, lemon, or coconut extract for a different twist.
10. Will this cheesecake taste too sweet?
No, the cream cheese balances the sweetness. But you can reduce the sugar slightly if you prefer.
Final Thoughts
This No Bake Easter Cheesecake is everything I love in a dessert—easy, creamy, colorful, and festive. It’s the kind of recipe that makes people smile before they even taste it.
If you’ve been looking for the perfect Easter dessert to impress your family without stressing in the kitchen, this is it. I promise once you try it, you’ll make it again and again.