The Cutest & Tastiest Miffy Chocolate Thumbprint Cookies You’ll Ever Make
If you’re anything like me, you probably love cute cookies just as much as delicious ones. That’s exactly how I came up with these Miffy chocolate thumbprint cookies.
I wanted something that’s fun to look at, melts in your mouth, and has that cozy homemade taste.
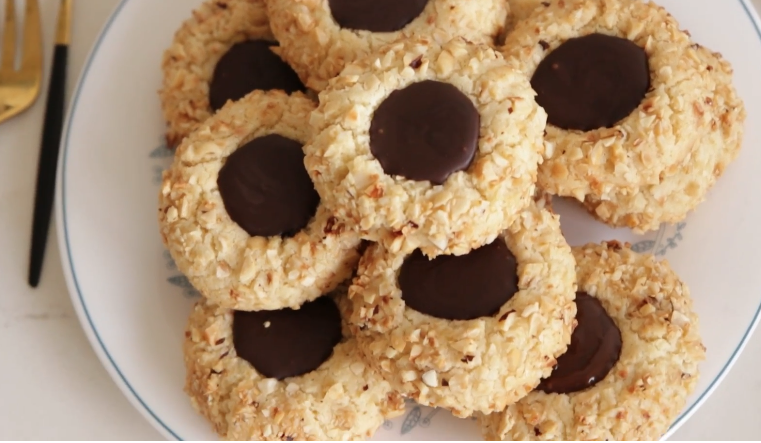
These cookies are buttery, chocolatey, and decorated with the sweetest little Miffy face. Trust me, once you try them, you’ll want to bake them again and again.
Why I Love These Miffy Thumbprint Cookies
I’ll be honest—regular thumbprint cookies are already good, but I felt they were missing something playful. That’s when I thought of Miffy, the adorable little bunny from childhood books. Adding her face to the cookies makes them instantly more special. Not only do they taste amazing, but they also bring a smile to anyone who sees them.
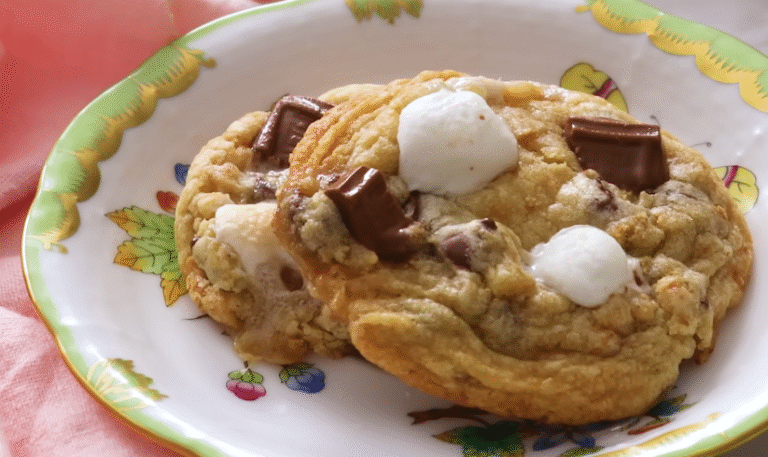
These cookies are soft and crumbly, with a rich chocolate center. Perfect for tea time, school snacks, or even as a gift.
Ingredients You’ll Need
Don’t worry, the list is short and simple. You probably already have most of these at home:
- 1 cup unsalted butter (softened)
- ½ cup sugar
- 1 large egg yolk
- 1 teaspoon vanilla extract
- 2 cups all-purpose flour
- ¼ teaspoon salt
- ½ cup chocolate spread (Nutella or melted chocolate)
- White icing (for Miffy’s face details)
- Black icing or edible pen (for the eyes and mouth)
Step-by-Step Instructions
1. Make the Cookie Dough
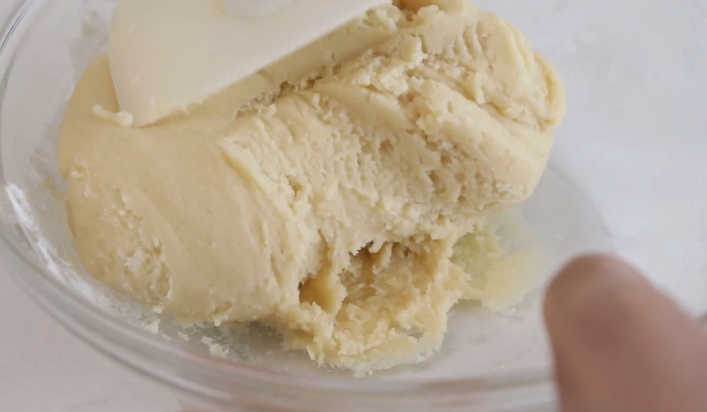
In a bowl, cream together butter and sugar until smooth. Add egg yolk and vanilla, then mix again. Slowly stir in flour and salt until a soft dough forms.
2. Shape the Cookies
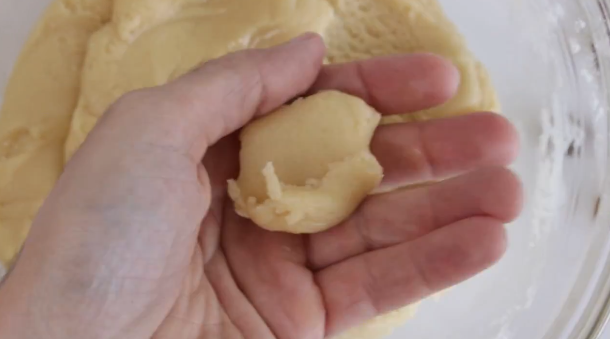
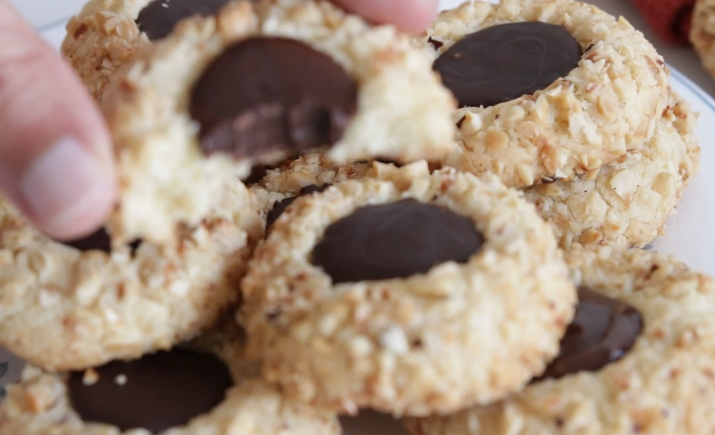
Roll the dough into small balls (about 1 inch). Place them on a lined baking tray. Press your thumb or the back of a spoon into the center of each ball to make a well.
3. Bake to Perfection
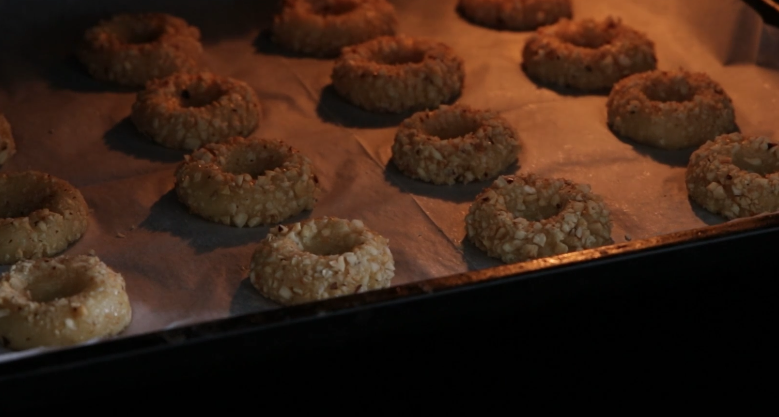
Preheat oven to 350°F (175°C). Bake the cookies for 12–14 minutes, or until the edges turn golden. Let them cool completely before decorating.
4. Fill with Chocolate
Spoon or pipe your chocolate spread into the thumbprint centers. This is the best part because the chocolate adds that creamy bite.
5. Add the Miffy Face
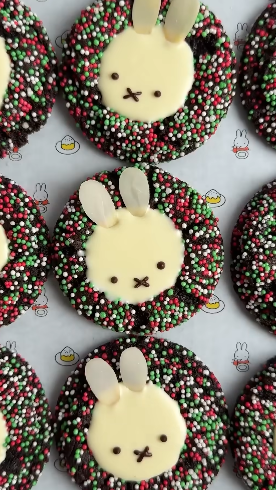
Use white icing to draw two bunny ears coming out from the top of the cookie. Then add little dots for eyes and a tiny “X” for Miffy’s mouth with black icing. Suddenly, your plain thumbprint cookie becomes the cutest treat ever!
Tips to Make Them Even Better
- Chill the dough: If the dough feels too soft, chill it for 15 minutes before rolling.
- Get creative: Try using different fillings like white chocolate or caramel.
- Use a piping bag: It makes decorating much easier and cleaner.
- Gift-ready: Wrap them in a clear bag with a ribbon—they make adorable edible gifts.
Why You’ll Love These Cookies
These aren’t just cookies—they’re little bites of joy. Every time I serve them, I get asked how I made them. They’re cute enough to impress kids and elegant enough for adults to enjoy with coffee or tea. The buttery base and rich chocolate filling strike the perfect balance of sweet and soft.
FAQs About Miffy Chocolate Thumbprint Cookies
Q1. Can I make the dough ahead of time?
Yes! You can prepare the dough, wrap it in cling film, and refrigerate for up to 2 days before baking.
Q2. Can I freeze these cookies?
Absolutely. Freeze baked cookies in an airtight container for up to 2 months. Just thaw before eating.
Q3. What if I don’t have icing pens?
You can use melted white and dark chocolate with a toothpick to draw Miffy’s face.
Q4. Can I use whole wheat flour instead of all-purpose flour?
You can, but the texture will be slightly denser. All-purpose flour gives the best buttery crumble.
Q5. How do I keep the chocolate center soft?
If you’re using melted chocolate, add a teaspoon of cream before filling. If you’re using Nutella, it naturally stays soft.