Irresistible Easter Oreo Truffles You’ll Want to Make Right Now
I have to admit, Easter treats are some of my favorite things to make. You know how every holiday has that one dessert that instantly makes you feel festive?
Well, for me, that’s Easter Oreo Truffles. I came up with the idea when I wanted something quick, colorful, and so good that people would ask for seconds. And honestly, these truffles check all those boxes.
They’re fun, creamy, chocolatey, and decorated with pastel sprinkles or candy melts that scream “Easter.”
Plus, you don’t need fancy baking skills or a long list of ingredients. If you love Oreos (and who doesn’t?), you’re going to love this recipe. Let me walk you through everything you need to know to make these little bites of joy.
What Are Easter Oreo Truffles?
Easter Oreo truffles are basically no-bake bite-sized balls made with crushed Oreos and cream cheese, dipped in chocolate, and decorated with pastel colors or Easter-themed toppings. They’re soft on the inside, with that signature Oreo crunch flavor, and coated in a smooth chocolate shell.
The best part? You can decorate them any way you want—Easter sprinkles, candy melts in pink, yellow, purple, or even little bunny and egg-shaped decorations. They look festive, taste amazing, and are the kind of treat you can make ahead of time.
Why You’ll Love These Oreo Truffles
Here’s why I’m obsessed with making Easter Oreo truffles (and why you will be too):
- No baking required – Just mix, roll, and dip.
- Only a few ingredients – Oreos, cream cheese, and chocolate are the basics.
- Perfect for Easter parties – They look so festive on any dessert table.
- Customizable – Change up the colors, sprinkles, or even Oreo flavors.
- Kid-friendly – Kids can help with decorating, and they’ll love eating them too.
These truffles are simple but impressive. People will think you spent hours making them, but really, you just had a little fun in the kitchen.
Ingredients You Need
To make these Easter Oreo truffles, you don’t need a long grocery list. Here’s what you’ll need:
- 1 package of Oreos (about 36 cookies – regular, not double-stuffed)
- 8 oz cream cheese (softened at room temperature)
- 12 oz white chocolate (melting wafers or almond bark works best)
- Pastel candy melts (pink, yellow, purple, or blue) for drizzling
- Easter sprinkles (optional but highly recommended)
That’s it! Just a few ingredients come together to make something that looks bakery-worthy.
Step-by-Step Instructions
Let’s break this down into easy steps so you can follow along.
1. Crush the Oreos
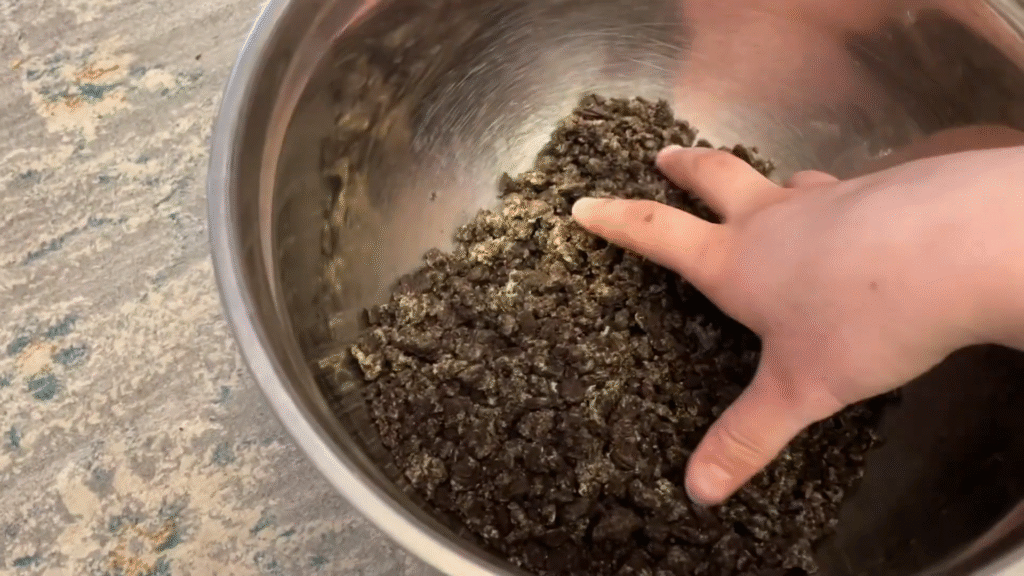
Place all the Oreos into a food processor and blend until they turn into fine crumbs. No big chunks—you want a sand-like texture. If you don’t have a food processor, just put them in a zip-top bag and crush them with a rolling pin.
2. Mix with Cream Cheese
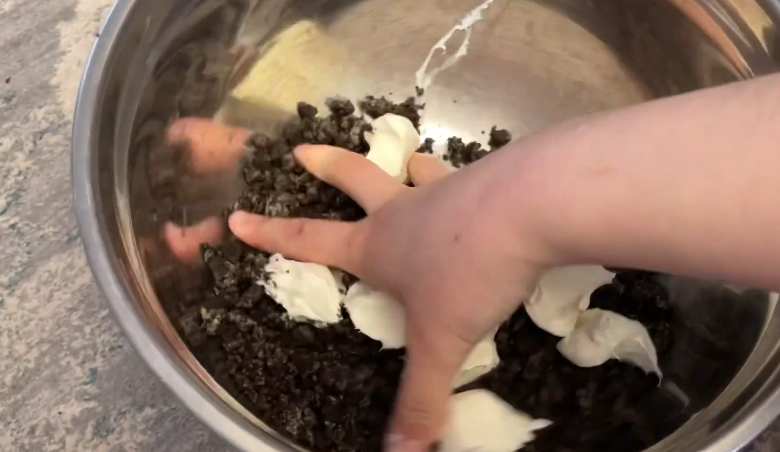
Pour the Oreo crumbs into a bowl and mix in the softened cream cheese. Stir until it forms a smooth dough-like mixture. This step is what gives the truffles their creamy texture.
3. Roll into Balls
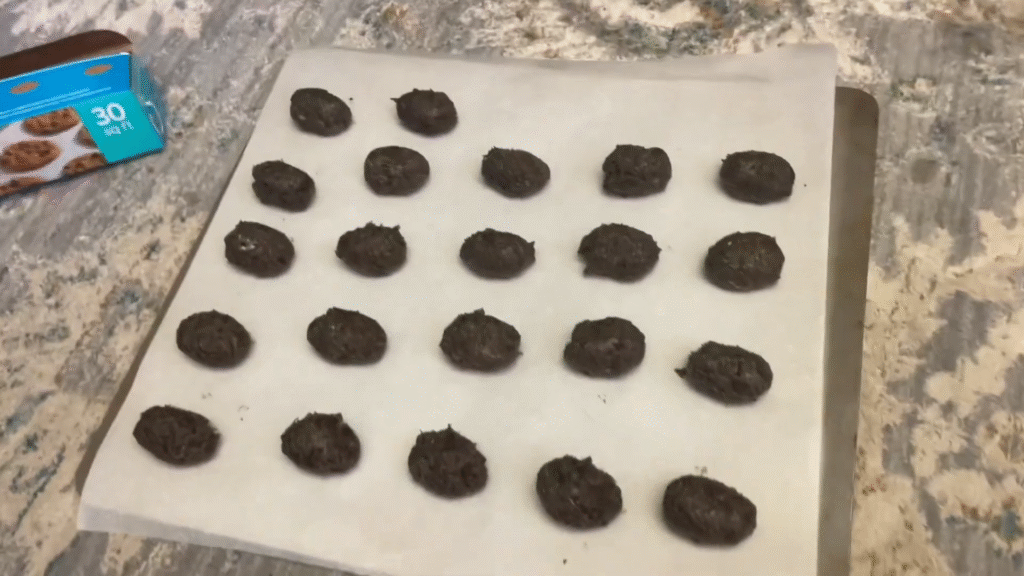
Scoop out small portions (about 1 tablespoon each) and roll them into smooth balls. Place them on a baking sheet lined with parchment paper.
4. Chill the Balls
Stick the tray in the freezer for about 20–30 minutes. This makes dipping easier and helps the balls keep their shape.
5. Dip in Chocolate

Melt your white chocolate in the microwave in 30-second intervals, stirring until smooth. Use a fork or dipping tool to coat each Oreo ball in the melted chocolate. Let the excess drip off, then place it back on the parchment paper.
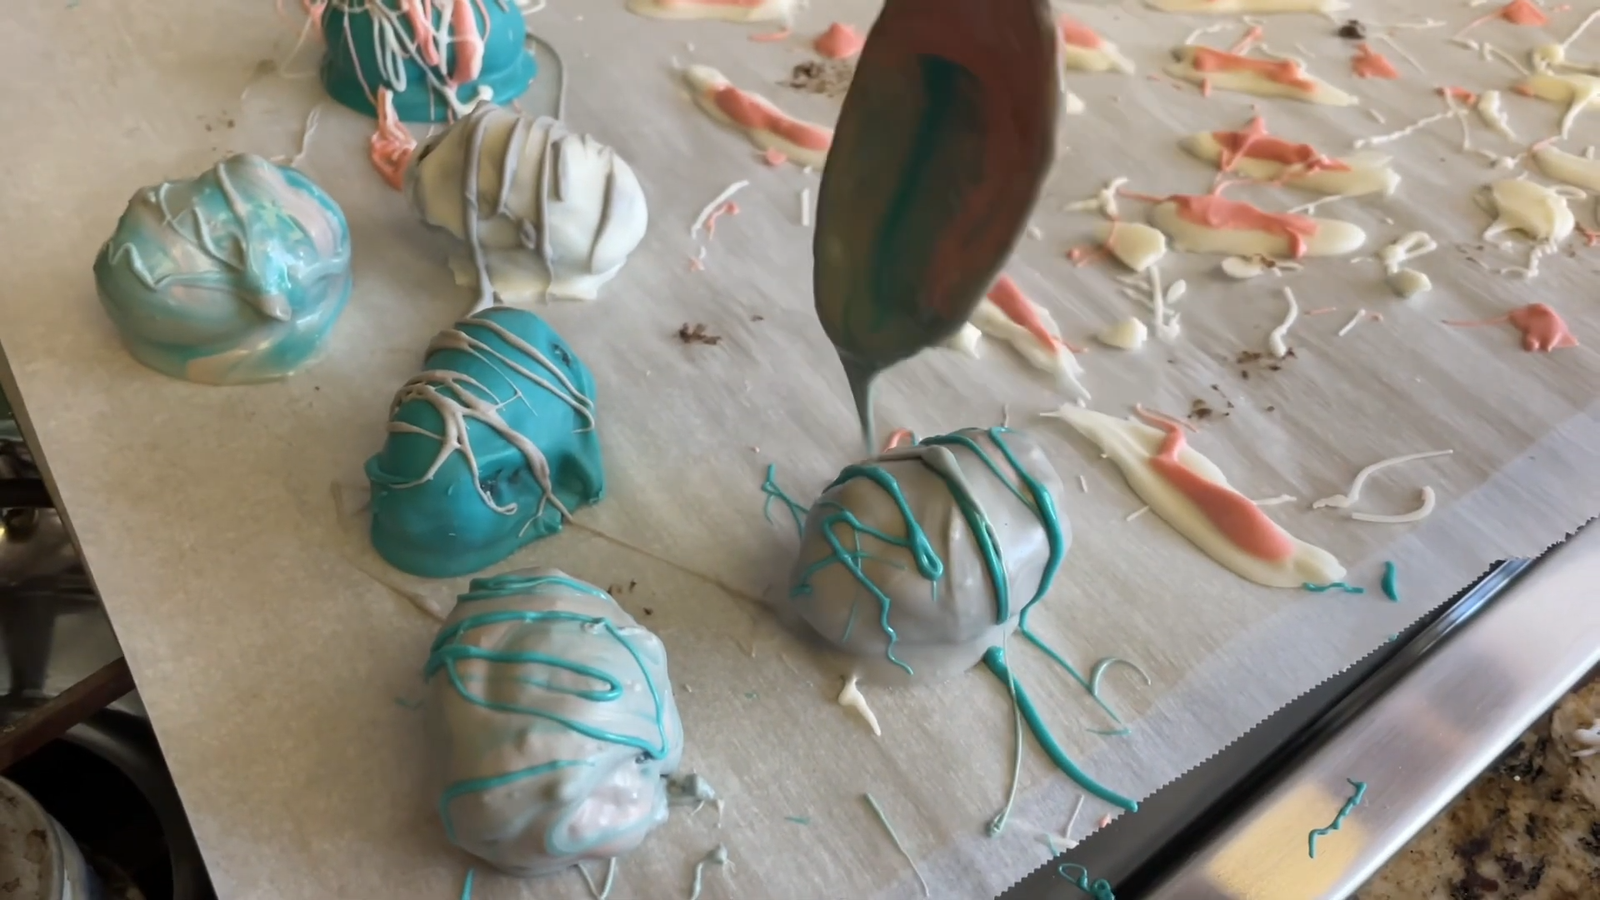
6. Decorate
Before the chocolate sets, sprinkle on Easter sprinkles or drizzle with pastel candy melts. This is where you can get creative—mix colors, make zigzags, or even draw little Easter egg designs.
7. Chill Again
Pop the tray back in the fridge for at least 30 minutes so the chocolate hardens completely. And that’s it—you’ve made Easter Oreo truffles!
Decoration Ideas for Easter Oreo Truffles
Here’s where you can have the most fun. Decorating these truffles makes them stand out and feel extra special for Easter.
- Pastel drizzle – Melt pink, yellow, and purple candy melts, then drizzle over the truffles in thin lines.
- Sprinkle magic – Use Easter sprinkles shaped like eggs, bunnies, or pastel confetti.
- Chocolate eggs – Place a mini candy egg on top of each truffle before the coating sets.
- Speckled look – Flick melted chocolate with a toothbrush or fork for a “speckled egg” design.
- Colorful coating – Instead of white chocolate, dip truffles in colored candy melts for a bolder look.
Every tray of truffles can look different, which makes them so fun to serve.
Tips for Perfect Oreo Truffles
Making Oreo truffles is pretty simple, but these tips will make your life easier:
- Use melting wafers or almond bark instead of regular white chocolate chips—they melt smoother.
- Work in small batches when dipping so the chocolate doesn’t harden before you’re done.
- Freeze the truffles before dipping to keep them from falling apart.
- Tap off extra chocolate so the coating doesn’t pool at the bottom.
- Store in the fridge—they taste best chilled and stay fresh longer.
Variations to Try
If you want to switch things up, here are some variations that work just as well:
- Golden Oreos – Use vanilla Oreos for a lighter flavor.
- Mint Oreos – Add a refreshing twist with mint-filled Oreos.
- Peanut Butter Oreos – Rich and nutty, perfect with a chocolate drizzle.
- Dark Chocolate Dip – Swap white chocolate for dark for a richer flavor.
- Colorful Centers – Add a drop of food coloring to the cream cheese mixture for a surprise inside.
You can even mix different flavors in one batch to keep things exciting.
How to Store Easter Oreo Truffles
Oreo truffles need to be stored properly so they stay fresh and delicious:
- In the fridge – Store in an airtight container for up to 2 weeks.
- In the freezer – They freeze really well! Just thaw them in the fridge before serving.
- Avoid room temperature – Because of the cream cheese, they should not sit out for more than 2 hours.
Why These Truffles Are Perfect for Easter
Easter is all about family, fun, and sweet treats. These truffles fit right in because they:

- Look like little Easter eggs when decorated.
- Are bite-sized, so easy to share at parties or gatherings.
- Can be made ahead of time, saving you stress on the day.
- Add color and fun to your Easter dessert table.
Honestly, they’re the type of treat everyone reaches for first, and you’ll get compliments like, “These are so cute!” and “Can I get the recipe?”
FAQs About Easter Oreo Truffles
1. Do I need to use regular Oreos, or can I use flavored ones?
You can use any flavor of Oreos you like—classic, golden, mint, or even seasonal flavors. Each one gives a slightly different taste.
2. Can I make Oreo truffles without cream cheese?
Cream cheese gives the truffles their creamy texture, but you can swap it with frosting if you prefer a sweeter version.
3. How do I stop the chocolate from cracking when dipping?
Make sure your truffle balls aren’t frozen solid—just chilled. If they’re too cold, the sudden temperature change can crack the chocolate.
4. Can I make these ahead of time?
Yes! You can make them up to a week ahead and store them in the fridge. Or freeze them for longer storage.
5. Do I have to use white chocolate?
Not at all. Dark or milk chocolate works perfectly too—it just changes the look and flavor.
6. Can kids help make these?
Definitely! Kids love rolling the balls and adding sprinkles. Just help them with the dipping step since it can get a little messy.
7. How many truffles does this recipe make?
Usually around 30–36 truffles, depending on how big you roll them.
8. Can I add filling inside the truffles?
Yes! You can hide a mini candy egg or a bit of peanut butter inside each ball before dipping.
Final Thoughts
Easter Oreo truffles are the kind of dessert that make you smile even before you take a bite. They’re colorful, fun to make, and seriously addictive. Whether you’re hosting an Easter brunch, making treats for your kids, or just want something sweet for yourself, these truffles are the answer.
Give them a try this Easter—you’ll see just how easy and delicious they are. And don’t be surprised if they disappear faster than you can make them.